Understanding On-Site Videography
Videography has evolved dramatically in recent years, and one area that has gained significant traction is On-Site Videography. This approach captures video content directly at event locations, creating authentic and impactful narratives that resonate with viewers. By providing real-time footage in various settings, on-site videography can enhance storytelling for brands, corporate events, social gatherings, and more.
Definition and Importance of On-Site Videography
On-site videography refers to the practice of capturing video footage at a particular location, rather than in a controlled studio environment. This type of videography is essential because it allows for context-rich storytelling. By filming on-site, videographers can incorporate real-life elements and emotions, turning everyday moments into compelling visual narratives.
The importance of on-site videography lies not only in its ability to capture genuine interactions but also in its versatility across different industries. From corporate training videos to weddings, on-site videography provides an effective medium for communication and engagement. Furthermore, as audiences increasingly seek authenticity, on-site content stands out as relatable and trustworthy.
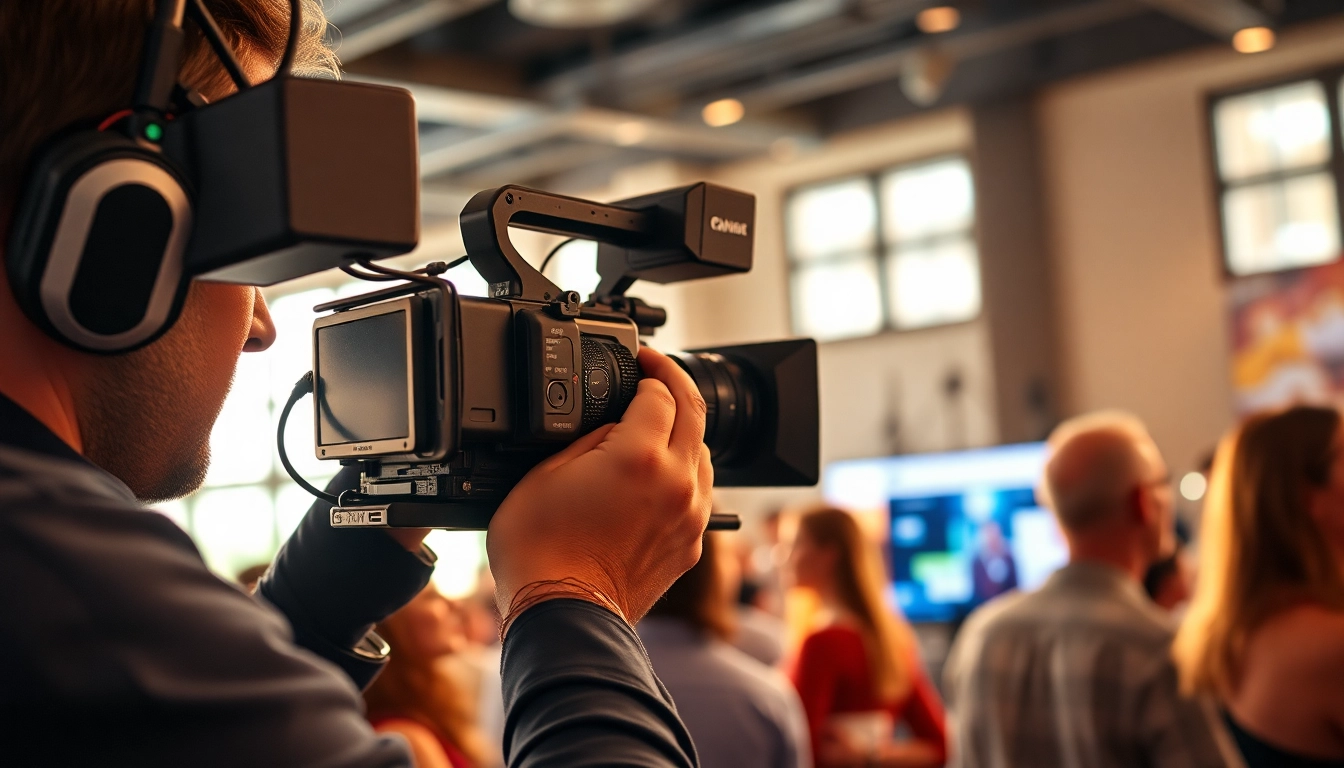
Common Types of On-Site Videography
There are several prevalent types of on-site videography that cater to various needs:
- Corporate Videography: Often used for training sessions, conferences, and interviews, corporate videography emphasizes professionalism and effective communication.
- Event Videography: Birthday parties, weddings, and festivals are captured using on-site techniques to convey the atmosphere and emotional highlights of the event.
- Documentary Videography: This engages viewers with storytelling through interviews, real-world experiences, and investigative reporting, all captured at the location of interest.
- Promotional Videography: Businesses use on-site videography to create engaging promotional content, showcasing products or services within their natural context.
Benefits of Utilizing On-Site Videography
Utilizing on-site videography brings a myriad of benefits:
- Authenticity: Real environments add credibility and allow for genuine storytelling, making the content resonate more deeply with viewers.
- Flexibility: Videographers can adapt their plans based on the unfolding environment, capturing spontaneous moments that may enhance the narrative.
- Engagement: Audience engagement is often heightened with on-site footage, as it reflects real life and creates a connection between the viewer and the subject matter.
- Cost-Effectiveness: With advancements in technology, high-quality on-site videography can be obtained without breaking the bank, making it accessible for various budgets.
Planning Your On-Site Videography Shoot
Key Elements to Consider Before Shooting
Successful on-site videography requires careful planning. Consider the following factors:
- Location: Evaluate the suitability of the location for achieving quality video; factors such as lighting, background noise, and spatial constraints should be assessed.
- Timing: Timing can impact both lighting and audience dynamics. Determine the best times for shooting when natural light is optimal and when participants will be most engaged.
- Goals and Objectives: Clearly outline the purpose of the shoot. Are you looking to inform, entertain, or persuade your audience? Knowing this will guide your content creation.
- Permissions: Ensure that you have all necessary permissions to film at the location, particularly for public or restricted areas.
Choosing the Right Equipment for On-Site Videography
Selecting the appropriate equipment is crucial for capturing high-quality footage. Consider the following tools:
- Cameras: Choose cameras that suit your capability level and the intended quality of the final product. DSLRs and mirrorless cameras offer excellent video capabilities.
- Microphones: Clear audio is essential in videography. Use external microphones to improve sound quality, especially in noisy environments.
- Lighting Equipment: When shooting indoors or in low-light conditions, consider portable lighting kits to enhance visibility.
- Stabilizers: Utilizing gimbals or steady-cams will help ensure smooth footage, particularly for on-the-move shots.
Pre-Production Tasks for a Successful Shoot
Pre-production is the foundation for effective shoots. Execute the following checklist to prepare:
- Scriptwriting: Develop a detailed script or outline to streamline the filming process and ensure you cover all necessary points.
- Storyboarding: Visualize your shoot through storyboards. This can help communicate your vision to the team and ensure important shots are not overlooked.
- Rehearsals: If featuring subjects or participants, conduct rehearsals to familiarize them with the process and reduce nervousness.
- Logistics: Plan for necessary logistics such as transportation, catering (if applicable), and technical setups.
Executing Effective On-Site Videography
Best Practices for Capturing Engaging Footage
When it comes time to shoot, incorporating best practices can make a significant difference:
- Frame Composition: Apply basic composition techniques such as the rule of thirds to create visually appealing footage. Experiment with angles for a more dynamic perspective.
- Capturing B-Roll: B-roll footage enriches the story. Film additional shots of the location, audience interactions, and relevant details to create a fuller narrative.
- Interviews: Conduct brief interviews with key participants to provide insight and diverse perspectives.
Lighting Techniques for On-Site Videography
Lighting can greatly affect the quality of your video. Consider these techniques:
- Natural Light: Utilize natural light whenever possible. Shooting during golden hours (early morning or late afternoon) provides soft, warm lighting.
- Reflectors: Use reflectors to bounce light and reduce harsh shadows, particularly in outdoor environments.
- Continuous Lighting: For indoor shoots, employing continuous lighting solutions can provide stable illumination of the subject.
Audio Considerations in On-Site Videography
High-quality audio is just as important as visuals. Keep these tips in mind:
- Monitor Audio Levels: Always monitor audio levels using headphones to ensure clarity and avoid unwanted noise.
- Windshields on Microphones: When shooting outdoors, use windshields to minimize wind noise and enhance the clarity of dialogue.
- Multiple Audio Sources: If possible, record audio from multiple sources (e.g., camera microphone and external mic) for enhanced editing options.
Editing and Post-Production for On-Site Videography
Common Editing Techniques Used in On-Site Videography
Editing is where your vision takes shape. Here are common techniques:
- Cutting on Action: Transitioning between shots during an action can create a seamless flow and keep viewers engaged.
- Color Grading: Adjusting colors in post-production can enhance the mood of your footage and create a cohesive look throughout the video.
- Utilizing Transitions: Skilled use of transitions can add professionalism to your edits. Use sparingly to maintain focus on the content.
Tools and Software for Editing On-Site Videography
Choosing the right tools simplifies the editing process. A few recommended software options include:
- Adobe Premiere Pro: A powerful editing suite with advanced features for professional videography.
- Final Cut Pro X: Ideal for Mac users, known for its intuitive interface and high-level performance.
- DaVinci Resolve: Offers robust editing tools along with professional-grade color grading capabilities.
Final Touches: Enhancing Your On-Site Videography
Finalizing can elevate the overall quality of your video. Implement these enhancements:
- Add Music/Voiceovers: Incorporating background music or voiceovers can enrich the narrative and give your video a polished feel.
- Creating a Branding Intro/Outro: Include branding elements at the start and end of the video to reinforce identity and provide viewers with a memorable takeaway.
- Subtitles/Captions: Adding subtitles increases accessibility and enhances viewer understanding, especially in situations where audio may not be clear.
Maximizing Reach with On-Site Videography
Distributing Your On-Site Videography Content
After editing, the distribution of your content is crucial for viewer engagement. Explore these channels:
- Social Media: Platforms like Instagram, Facebook, and YouTube are excellent for sharing on-site videography to reach diverse audiences.
- Email Marketing: Integrate video content into email campaigns to boost engagement rates and communicate with your audience effectively.
- Your Website: Hosting videos on your site can increase dwell time and improve SEO, contributing to higher website rankings.
Using On-Site Videography for Marketing and Engagement
On-site videography can serve as a powerful marketing tool. Here’s how to harness it:
- Brand Storytelling: Use videos to narrate your brand’s story, revealing its mission, values, and the people behind it.
- Interactive Content: Encourage viewers to engage with content by creating polls or contests related to the video’s theme or subject matter.
- Product Demonstrations: Showcase your products in real-world settings to illustrate their practical benefits and increase conversion rates.
Measuring Success: Metrics for On-Site Videography Impact
Measuring the success of your on-site videography efforts is essential for ongoing improvement. Track these metrics:
- View Count: Measure how many times your video has been viewed to gauge interest.
- Engagement Rate: Analyze likes, shares, comments, and other interactions to evaluate viewer engagement.
- Conversion Rate: Determine the number of viewers who took a desired action, such as subscribing or purchasing after watching.
- Audience Retention: Understand how long viewers stay engaged with your video content to identify areas for enhancement.