Understanding the Basics of Drywall Painting
Drywall painting is a crucial step in home renovation and interior design that allows you to transform spaces, enhance aesthetics, and breathe new life into your environment. By understanding the intricacies of drywall painting, you can achieve a flawless finish that not only beautifies your home but also protects the underlying material. For a deep dive into various methods and best practices, explore drywall painting techniques.
What is Drywall Painting?
Drywall painting refers to the application of paint on interior walls and ceilings made of drywall or gypsum board. It is essential to use the right techniques and materials to ensure optimum adherence and appearance. Effective drywall painting can involve several preparatory steps, selecting suitable paints, and employing specific tools for best results.
Essential Tools for Drywall Painting
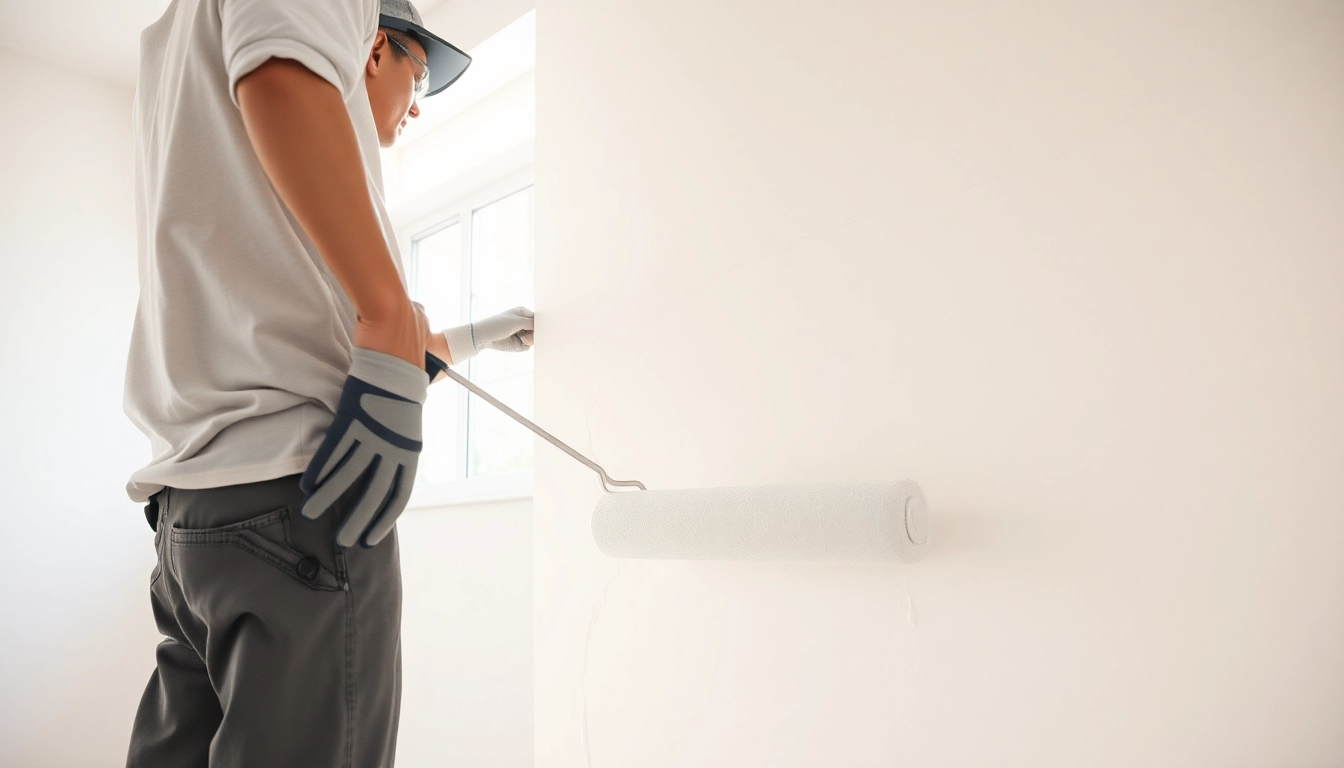
- Paint Roller and Tray: Essential for large wall areas, allowing for even application.
- Brushes: Used for corners and edges where rollers can’t reach.
- Primer: Ensures better adhesion and coverage of the paint.
- Sandpaper or Sanding Block: For smoothing the drywall before painting.
- Drop Cloths: Protects flooring and furniture from paint splatters.
- Painter’s Tape: Allows for clean edges and lines when painting around trims and frames.
- Sprayer: For intricate or large jobs requiring an even coat quickly.
Common Mistakes to Avoid in Drywall Painting
Failure to prepare surfaces adequately is one common mistake that can lead to disappointing results. Other errors include not using primer, which can result in uneven paint, or rushing through the application process without allowing proper drying time between coats. Additionally, neglecting to protect surrounding surfaces can contribute to a messy job.
Preparing the Surface for Drywall Painting
The preparation phase is perhaps the most critical step in achieving a successful drywall painting project. Ensuring that the surface is clean and ready for paint will yield better results.
Cleaning and Smoothing Your Drywall
Begin by cleaning the drywall surface to remove any dust, dirt, or grease that might interfere with paint adhesion. After cleaning, inspect your drywall for blemishes or imperfections. Use sandpaper to smooth down any uneven areas or blemishes to achieve a polished surface.
When to Use Primer Before Painting
Primer is foundational for a successful paint job, especially on new drywall. It serves various purposes: enhancing paint adhesion, blocking stains, and minimizing the likelihood of peeling. If you’re dealing with darker colors or significant imperfections, a primer can also help in achieving a uniform finish.
Techniques for Taping and Mudding
Applying tape and mudding the joints is crucial for a seamless finish. Ensure these steps are done correctly to avoid visible seams after painting. Use a taping knife to apply joint compound smoothly, feathering out the edges to minimize any visible lines.
Choosing the Right Paint for Drywall Projects
Selecting the right paint greatly influences both the appearance and durability of your finished walls.
Acrylic vs. Latex Paint for Drywalls
Acrylic and latex paints are the most common choices for drywall. Latex paints are water-based, making them easy to clean and suitable for most interior projects. Acrylic paints, in contrast, tend to adhere better and are often more durable, providing a tougher finish for high-traffic areas.
Selecting Colors that Enhance Your Space
When choosing colors for your walls, consider the room’s purpose and desired ambiance. Lighter colors can make a space feel open and airy, while darker shades can create warmth and intimacy. Additionally, color trends often evolve; therefore, it’s vital to consider lasting aesthetics versus fleeting fads.
Understanding Sheen Levels in Drywall Paint
The sheen level—ranging from flat to high gloss—influences both the durability and appearance of your painted drywall. Flat paints are great for hiding imperfections but less durable, while glossy finishes are easier to clean but highlight imperfections. Satin or eggshell finishes often offer a balanced option for many interior spaces.
Advanced Techniques for Professional Drywall Painting
For those looking to achieve professional-level results, employing advanced techniques can make a significant difference in the quality of the paint job.
Layering Paint: What You Need to Know
Layering paint not only enhances the depth of color but also increases durability. Applying multiple thin coats allows for even drying and enhances color richness compared to fewer thick coats, which may lead to drips and uneven finishes.
Special Techniques for Textured Finishes
Textured finishes can add character and interest to your walls. Techniques such as sponge painting, rag rolling, or using textured rollers can create distinctive effects that suit your design vision. Experimentation and practice will help you master these effects.
Using Tools for Precision in Drywall Painting
Having the right tools can enhance the precision of your painting. High-quality brushes and rollers offer better control, while paint sprayers can cover larger areas more efficiently. Consider investing in tools that save time and improve results.
Maintaining Your Painted Drywall
Once your drywall is painted, maintaining its appearance is crucial for longevity. Regular attention can prevent deterioration and keep spaces looking fresh.
Best Practices for Cleaning Painted Drywalls
For routine maintenance, use a damp cloth to wipe down painted surfaces. For tougher stains or marks, select appropriate cleaning agents based on the paint finish. Avoid using harsh chemicals that can damage the paint.
Repairing Scratches and Damages on Painted Walls
It’s essential to address any scratches or dents promptly. Depending on the severity, this could involve simply touching up with paint or performing more extensive repairs, such as reapplying joint compound and repainting the affected area.
When to Repaint Your Drywalls
Repainting should generally occur every 5 to 7 years, though this can vary based on the room’s wear and tear, color fading, and personal preference. Keep an eye on areas prone to damage, such as high-traffic zones or rooms with high humidity.